博客管理和建立
搭建Hexo
环境准备:Git,Nodejs
上面软件配置自行百度,或后续会更新
进行Hexo安装,官网
打开一个放置博客文件的目录,如何打开终端,输入:
npm install hexo-cli -g |
blog文件夹各文件作用:
_config.yml是网站的配置文件,在里面可以编辑例如你的网站名,作者,描述等信息.source内存放你的页面和文章(文章地址在source/_posts里).themes里存放着博客主题的相关配置与信息.
…
几个简单的Hexo指令吧!
hexo init xxx
生成
Hexo文件夹(即一个网站).hexo new xxx
生成名为xxx的文章,位置在
~/blog/source/_post/xxx.mdhexo new page about
生成
about页面,位置在~/blog/source/about/index.md,about可换.hexo s
开启本地预览,通常网址为
http://localhost:4000hexo g
渲染生成
HTML页面,位置在~/blog/public
编辑任务,只需编辑_config.yml即可,主题配置后面再说.
更换主题
以本网站的 butterfly 主题为例
下载地址和说明地址:hexo-theme-butterfly
依旧在刚刚的命令行中输入(此时应该是blog文件夹):
git clone -b master https://github.com/jerryc127/hexo-theme-butterfly.git themes/butterfly |
继续安装依赖(pug 以及stylus 的渲染器):
cnpm install hexo-util --save |
在博客的项目文件夹下,修改_config.yml配置文件如下:
# theme: landscape 默认主题 |
然后再次运行网站:
hexo server |
也可以参考butterfly主题的官方文档
更多细节配置
更多配置请参考官方配置文档
改变ol、ul、h1-h5的样式
field配置生效的区域
post只在文章页生效site在全站生效
修改 主題配置文件
# 美化頁面顯示 |
本地搜索
参考github项目
cnpm install hexo-generator-searchdb |
部署到网站
hexo g |
生成网站静态页面,生成文件在网站目录:public
上传即可
部署整个项目到vercel
Framework Preset:Hexo
Build Command : hexo generate
Output Directory:public
Install Command:npm install –force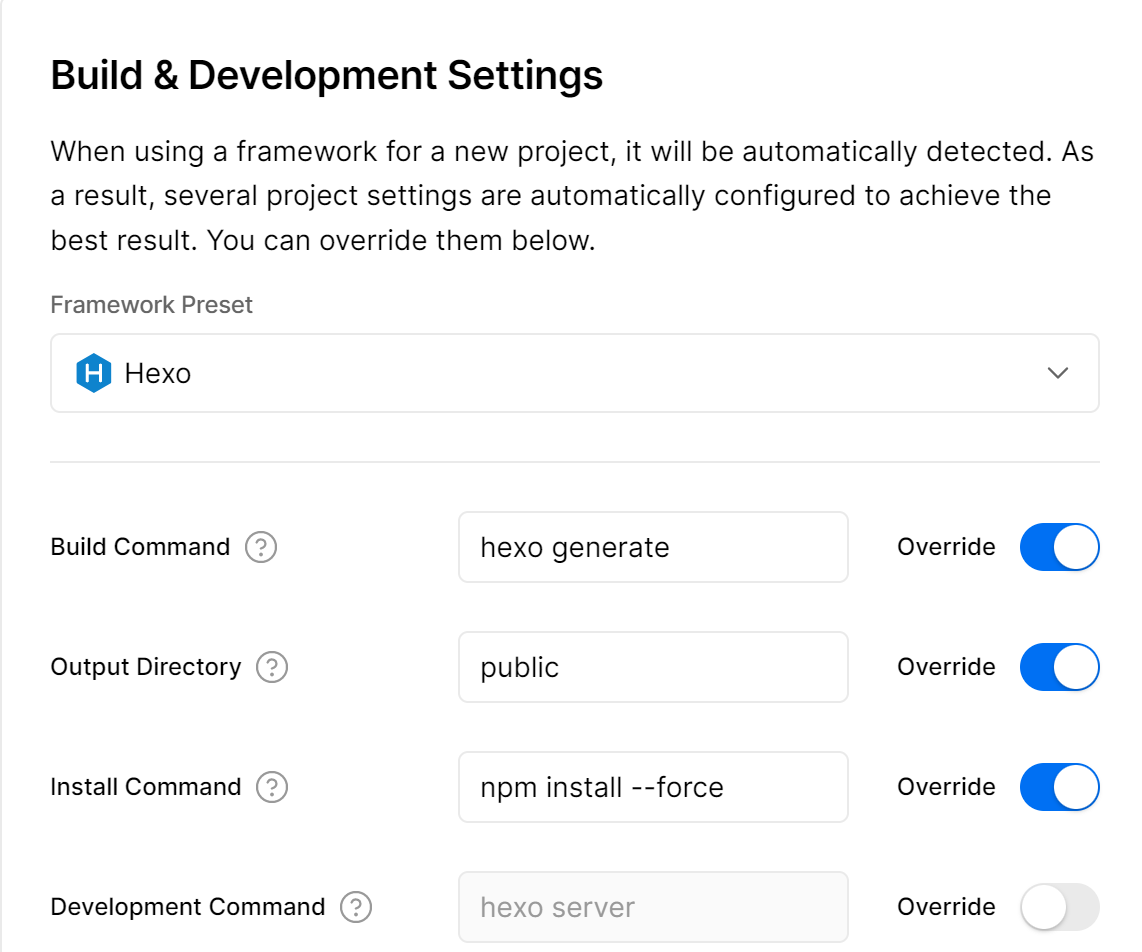
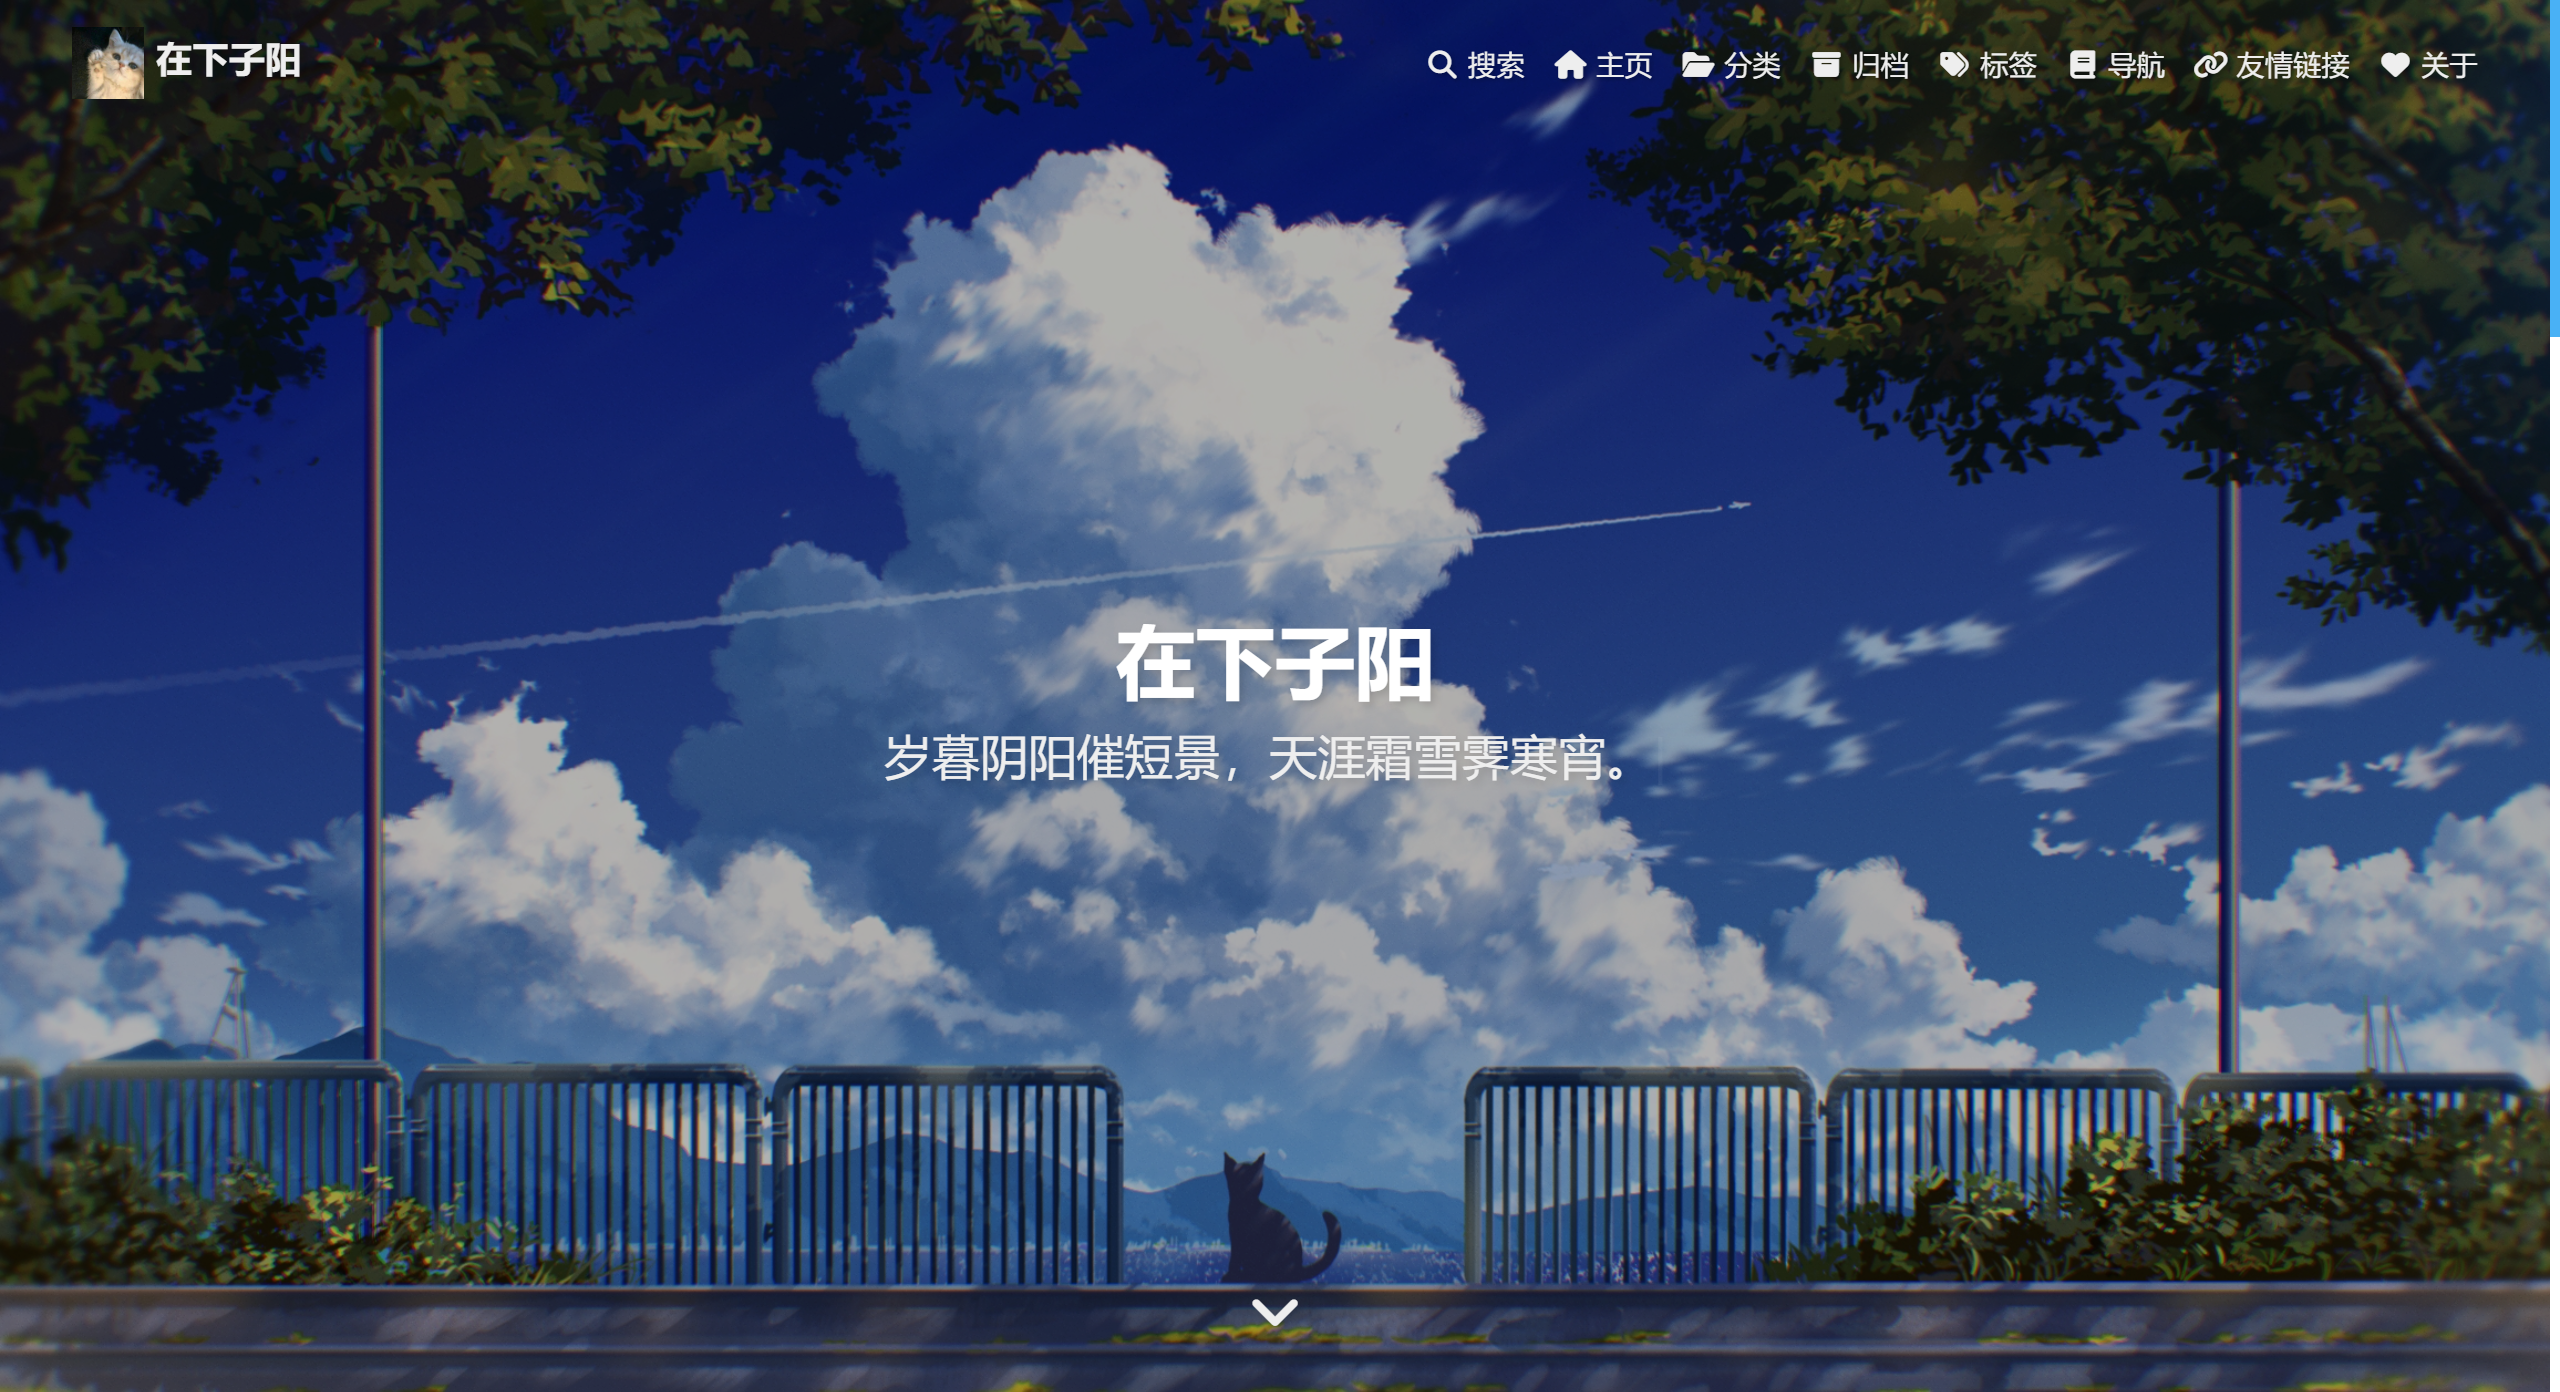
最终效果